Manual
Windows VM
Omarchy offers an easy way to run Windows through a Docker VM. You can install it using Install > Windows from the Omarchy menu (Super + Space).
Your machine needs KVM virtualization for this, which most do - but it’s sometimes switched off in the BIOS, and the installer will tell you if that’s the case. You’ll also want the disk space: whatever you give Windows, plus about 10GB for the image itself.
The installer asks how much RAM, how many CPU cores, and how much disk to hand over (64GB or more is the sensible floor), then for a Windows username and password. Leave those blank and you get docker / admin. The download takes a while - 10-15 minutes is normal - and you can follow the progress in the browser at http://127.0.0.1:8006. The browser prompts for the same username and password before opening the console.
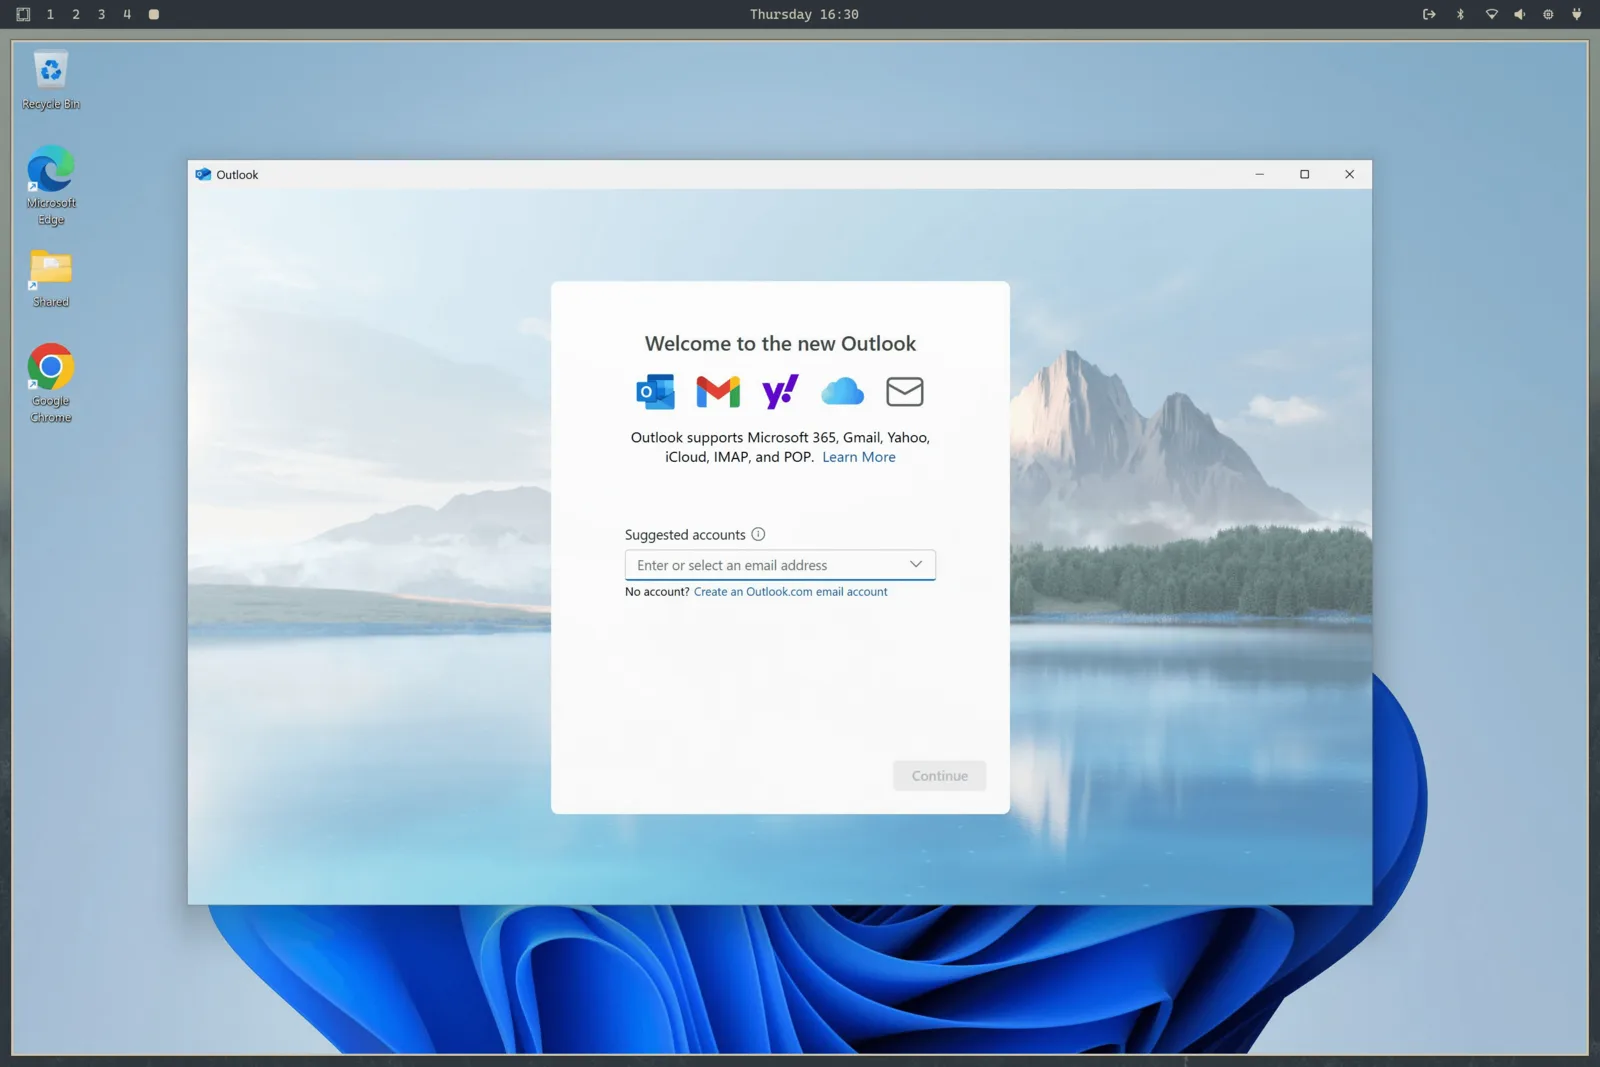
Using it
Once it’s installed, launch Windows from the app launcher. That starts the VM if it isn’t already running and connects you over RDP, full screen. Give it 15-30 seconds on a cold start.
The RDP session carries sound, your microphone, and a shared clipboard, so copying text between Linux and Windows just works. The resolution follows your window, and Omarchy passes your display scaling through, so it’s not a blurry mess on a HiDPI screen.
When you close the RDP window, the VM shuts down automatically. If you’d rather leave it running - say you’ve got something working away in there - launch it with omarchy windows vm launch --keep-alive instead.
The rest of the controls are on the same command:
omarchy windows vm status    # is it running?
omarchy windows vm stop      # shut it down
omarchy windows vm launch    # start and connect
Sharing files
The directory ~/Windows in your home directory is automatically shared with the VM. Put files there if you want them accessible to Windows. The VM has no access to any other part of your file system, so you’re safe from anything nasty on the Windows side. Its own virtual disk is available at ~/.windows.
Those familiar home paths stay on their own filesystems. They can also be symlinks to directories you own, which is useful when the virtual disk lives on a larger drive. The installer measures free space on the filesystem that actually contains ~/.windows, not necessarily the filesystem containing your home directory.
Keep the disk and shared paths as separate, non-overlapping directories. Removal deliberately empties the disk directory but preserves the shared directory. Immediately before deletion, Omarchy performs a bounded containment check and refuses to remove anything if that check times out or cannot prove the two trees are separate.
Before the VM starts, Omarchy opens and pins those two directories, then bind-mounts the exact directory inodes onto private per-user anchors below /var/lib/omarchy/windows/mounts. Docker only sees those root-protected anchors. This preserves custom disk locations while preventing another process running as you from swapping a checked path before the privileged container consumes it. Existing disk and shared directories are tightened to mode 0700 during migration so other local accounts cannot browse their contents.
The VM’s ports are bound to localhost only, so nothing on your network can reach the Windows machine. The web console also requires the configured Windows username and password, preventing another local account from driving the VM through port 8006.
Limits and licensing
There’s no GPU passthrough with this setup, so it’s not suitable for gaming or video editing. It’s a great way to run Microsoft Office or whatever else you absolutely must have.
The version installed is Windows 11 Pro, unactivated. You’ll need your own license key to use the gated features.
If this computer shipped with Windows, the OEM key is still in firmware even after installing Omarchy. Print it with omarchy windows key. That key is bound to this machine - it will activate Windows reinstalled on this hardware, but it usually will not activate the VM.
You can change the resource allocation later by re-running omarchy-windows-vm install, which rewrites the VM’s configuration from your answers. The compose file itself now lives at /var/lib/omarchy/windows/docker-compose.yml and is owned by root - that is deliberate, so a process running as you cannot rewrite it and have the privileged bring-up mount your whole disk into the container. If you need to hand-edit it (for example to mount a USB device), edit it with sudo and see all the options on the Dockur Windows project.
To get rid of the whole thing, use Remove > Windows from the Omarchy menu. That deletes the VM’s disk and all its data, so make sure anything you care about is out of ~/Windows first.